SP I.C. Sonia Law
Engines

Tier 1 |

|

 CP DP Engine
  25 25  50 50 |

Tier 2 |

|

 CP DP Engine II
  40 40  100 100 |

Tier 3 |

|

 CP DP Engine III
  50 50  150 150 |
Chassis

Tier 1 |

|


 Sloped Rear-Turret Chassis
  60 60  335 335  40 40 |

Tier 2 |

|


 Sloped Rear-Turret Chassis II
  160 160  1100 1100  95 95 |

Tier 3 |

|


 Sloped Rear-Turret Chassis III
  255 255  1800 1800  150 150 |
Armors

Tier 1 |

|
 Medium Welded Rolled Armor
  85 85  15 15  10 10 |

Tier 1 |

|

 Medium Hardened Welded Armor
  120 120  20 20  5 5 |

Tier 1 |

|

 Medium Composite Wedge Armor
  175 175  5 5 |

Tier 1 |

|
 Medium Tempered Upgraded Armor
  125 125  25 25  30 30 |

Tier 2 |

|

 Medium Hardened Welded Armor II
  275 275  45 45  15 15 |

Tier 2 |

|

 Medium Cast Welded Armor II
  245 245  275 275  30 30  15 15 |

Tier 2 |

|

 Medium Composite Wedge Armor II
  360 360  10 10 |

Tier 2 |

|
 Medium Tempered Upgraded Armor II
  255 255  50 50  45 45 |

Tier 3 |

|
 Medium Welded Rolled Armor III
  345 345  65 65  45 45 |

Tier 3 |

|
 Medium Tempered Upgraded Armor III
  370 370  70 70  55 55 |

Tier 3 |

|

 Medium Hardened Welded Armor III
  460 460  70 70  25 25 |

Tier 3 |

|

 Medium Composite Wedge Armor III
  540 540  15 15 |
Shells From game version 1.9.7.55

Tier 1 |
Level 2 |

 Carbonized APCR (L)
  110 110 125 125 |
| Range | 1110 | |

Tier 1 |
Level 4 |

 Tempered APCR (L)
  315 315 100 100 |
| Range | 1110 | |

Tier 2 |
Level 1 |


 Carbonized CRBC (L)
  310 310 315 315 35 35 |
| Range | 1110 | |

Tier 2 |
Level 3 |


 Tempered CRBC (L)
  770 770 230 230 45 45 |
| Range | 1110 | |

Tier 3 |
Level 3 |


 Carbonized CRCBC (L)
  580 580 570 570 55 55 |
| Range | 1110 | |

Tier 3 |
Level 5 |


 Tempered CRCBC (L)
  1275 1275 375 375 60 60 |
| Range | 1110 | |

Tier 1 |
Level 3 |

 SSAT (M)
  305 305 115 115 20 20 |
| Range | 1500 | |

Tier 1 |
Level 6 |

 Shaped WSAT (M)
  230 230 235 235 |
| Range | 1500 | |

Tier 2 |
Level 1 |


 FSAT-T (M)
  630 630 225 225 65 65 |
| Range | 1500 | |

Tier 2 |
Level 6 |


 Shaped WSFSAT (M)
  485 485 475 475 90 90 |
| Range | 1500 | |

Tier 3 |
Level 1 |


 CFS AT-T (M)
  1085 1085 420 420 110 110 |
| Range | 1500 | |

Tier 3 |
Level 4 |

 QFAT Mag (M)
  1805 1805 425 425 90 90 |
| Range | 1500 | |

Tier 3 |
Level 6 |


 Shaped CFS WSAT (M)
  745 745 715 715 130 130 |
| Range | 1500 | |

Tier 1 |
Level 4 |

 HESH-T (M)
  285 285 105 105 |
| Range | 1090 | |

Tier 1 |
Level 5 |

 HEDM HESH (M)
  330 330 115 115 5 5 |
| Range | 1090 | |

Tier 2 |
Level 4 |

 Modified HESH-T (M)
  700 700 235 235 |
| Range | 1090 | |

Tier 2 |
Level 6 |

 Modified HEDM HESH (M)
  745 745 250 250 15 15 |
| Range | 1090 | |

Tier 3 |
Level 2 |


 Modified FSHESH-T (M)
  1035 1035 345 345 65 65 |
| Range | 1090 | |

Tier 3 |
Level 3 |


 FSHESH Mag (M)
  1235 1235 375 375 100 100 |
| Range | 1090 | |

Tier 3 |
Level 6 |


 Modified HEDM FSHESH (M)
  1200 1200 395 395 105 105 |
| Range | 1090 | |
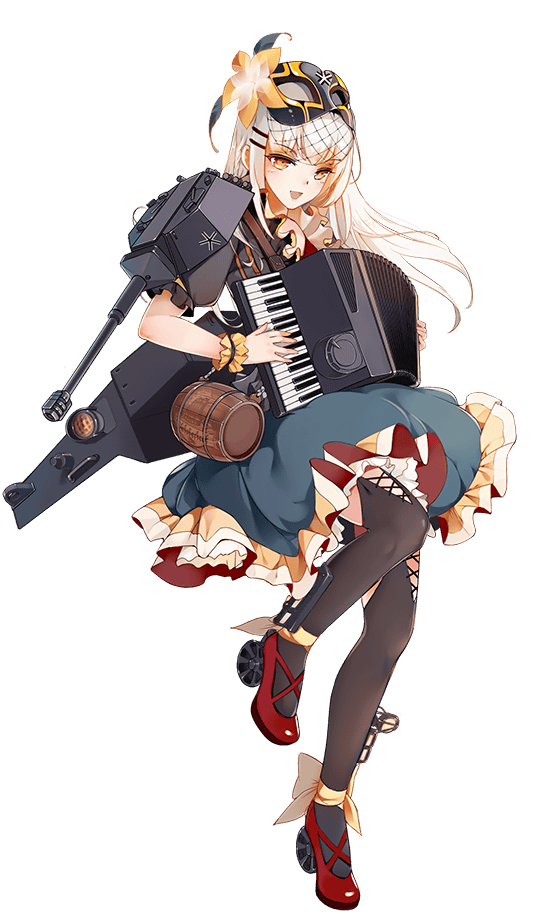
Illustration :
Main Illustration
How to unlock:
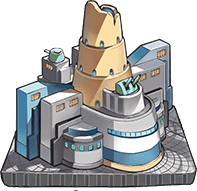
Appears in BWMG Depot LV 3

Secret Plan
x
458

Blueprint N6
x
42

S 6

Wet Rack
x
1

Silver
x
4 140 000
Terrain performance based on chassis and engine bonus
Warning : This is only an approximation and a work-in-progress.
- Some metal maidens may have more than one type of engine/chassis and therefore can not accumulate all the bonuses from theirs engines/chassis at the same time.
- You also have to take into account the range of the ammo available for your metal maiden for each terrains
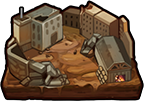
Dirt streets
Adequate equipment : 1 out of 3
- Detection
- Critical resistance
Missing: [w proof] [low]
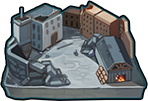
Rocky streets
Adequate equipment : 0 out of 3
- Armor
- Targeting
- Critical resistance
Missing: [w proof] [low] [tires] [light]
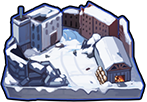
Snow streets
Adequate equipment : 2 out of 3
- Critical resistance
Missing: [w proof] [low] [tires] [light]
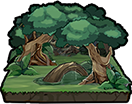
Grass forest
Adequate equipment : 1 out of 1
Missing: [w proof] [low] [tires] [light]

Dirt forest
Adequate equipment : 2 out of 3
- Detection
Missing: [w proof] [low] [tires] [light]
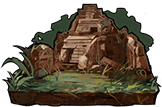
Rocky forest
Adequate equipment : 1 out of 3
- Armor
- Targeting
Missing: [w proof] [low] [tires] [light]

Snow forest
Adequate equipment : 3 out of 3
Missing: [w proof] [low] [tires] [light]

Grass hills
Adequate equipment : 0 out of 1
- Evasion
Missing: [w proof] [low] [tires] [light] [s proof]

Desert hills
Adequate equipment : 1 out of 3
- Fire resistance
- Evasion
Missing: [w proof] [low] [tires] [light] [s proof] [h proof]
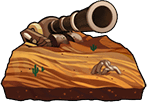
Desert plains
Adequate equipment : 1 out of 3
- Fire resistance
- Firepower
Missing: [w proof] [low] [tires] [light] [s proof] [h proof] [angled]
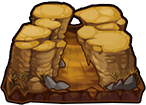
Desert valley
Adequate equipment : 1 out of 3
- Fire resistance
- Stealth
Missing: [w proof] [low] [tires] [light] [s proof] [h proof] [angled] [silent]
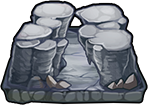
Rocky valley
Adequate equipment : 0 out of 3
- Armor
- Targeting
- Stealth
Missing: [w proof] [low] [tires] [light] [s proof] [h proof] [angled] [silent]

Snow valley
Adequate equipment : 2 out of 3
- Stealth
Missing: [w proof] [low] [tires] [light] [s proof] [h proof] [angled] [silent]

Grass plains
Adequate equipment : 0 out of 1
- Firepower
Missing: [w proof] [low] [tires] [light] [s proof] [h proof] [angled] [silent]

Dirt plains
Adequate equipment : 1 out of 3
- Detection
- Firepower
Missing: [w proof] [low] [tires] [light] [s proof] [h proof] [angled] [silent]

Snow plains
Adequate equipment : 2 out of 3
- Firepower
Missing: [w proof] [low] [tires] [light] [s proof] [h proof] [angled] [silent]
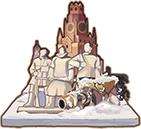
Crushed ice streets
Adequate equipment : 1 out of 3
- Targeting
- Critical resistance
Missing: [w proof] [low] [tires] [light] [s proof] [h proof] [angled] [silent]

Shoals forest
Adequate equipment : 2 out of 3
- Detection
Missing: [w proof] [low] [tires] [light] [s proof] [h proof] [angled] [silent]

Shoals hills
Adequate equipment : 1 out of 3
- Detection
- Evasion
Missing: [w proof] [low] [tires] [light] [s proof] [h proof] [angled] [silent]
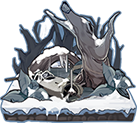
Muddy snow forest
Adequate equipment : 3 out of 3
Missing: [w proof] [low] [tires] [light] [s proof] [h proof] [angled] [silent]
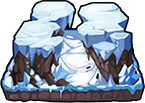
Crushed ice valley
Adequate equipment : 1 out of 3
- Targeting
- Stealth
Missing: [w proof] [low] [tires] [light] [s proof] [h proof] [angled] [silent]
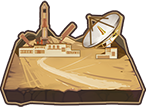
Rocky desert plains
Adequate equipment : 0 out of 3
- Armor
- Fire resistance
- Firepower
Missing: [w proof] [low] [tires] [light] [s proof] [h proof] [angled] [silent]
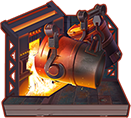
Rocky desert streets
Adequate equipment : 0 out of 3
- Armor
- Fire resistance
- Critical resistance
Missing: [w proof] [low] [tires] [light] [s proof] [h proof] [angled] [silent]

River hills
Adequate equipment : 0 out of 3
- Fire resistance
- Penetration
- Evasion
Missing: [w proof] [low] [tires] [light] [s proof] [h proof] [angled] [silent] [moisture counter] [buoyant]
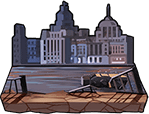
River streets
Adequate equipment : 0 out of 3
- Fire resistance
- Penetration
- Critical resistance
Missing: [w proof] [low] [tires] [light] [s proof] [h proof] [angled] [silent] [moisture counter] [buoyant]

River valley
Adequate equipment : 0 out of 3
- Fire resistance
- Penetration
- Stealth
Missing: [w proof] [low] [tires] [light] [s proof] [h proof] [angled] [silent] [moisture counter] [buoyant]

Spore plains
Adequate equipment : 0 out of 3
- Probably fail to attack
- Critical resistance
- Firepower
Missing: [w proof] [low] [tires] [light] [s proof] [h proof] [angled] [silent] [moisture counter] [buoyant] [energized] [brisk]

Spore valley
Adequate equipment : 0 out of 3
- Probably fail to attack
- Critical resistance
- Stealth
Missing: [w proof] [low] [tires] [light] [s proof] [h proof] [angled] [silent] [moisture counter] [buoyant] [energized] [brisk]
Quotes
| From | Quote |
|---|---|
| Intro | |
| Main screen #1 | |
| Main screen #2 | |
| Main screen #3 | |
| Main screen #4 | |
| Main screen #5 | |
| Main screen #6 | |
| On upgrade | |
| Pre-attack #1 | |
| Pre-attack #2 | |
| Pre-attack #3 | |
| On attack #1 | |
| On attack #2 | |
| On attack #3 | |
| On attack #4 | |
| On attack #5 | |
| On attack #6 | |
| On attack #7 | |
| Getting hit | |
| Upon destruction | |
| Assignation to a squad | |
| Adding essential equipment #1 | |
| Adding essential equipment #2 | |
| Adding essential equipment #3 | |
| Adding essential equipment #4 | |
| Adding equipment to a slot #1 | |
| Adding equipment to a slot #2 | |
| Adding equipment to a slot #3 | |
| Unequip all gear | |
| Battle victory #1 | |
| Battle victory #2 | |
| Battle victory #3 | |
| Battle loss | |
| Fate |


 Ausf.D.png?v=1691279400)

